
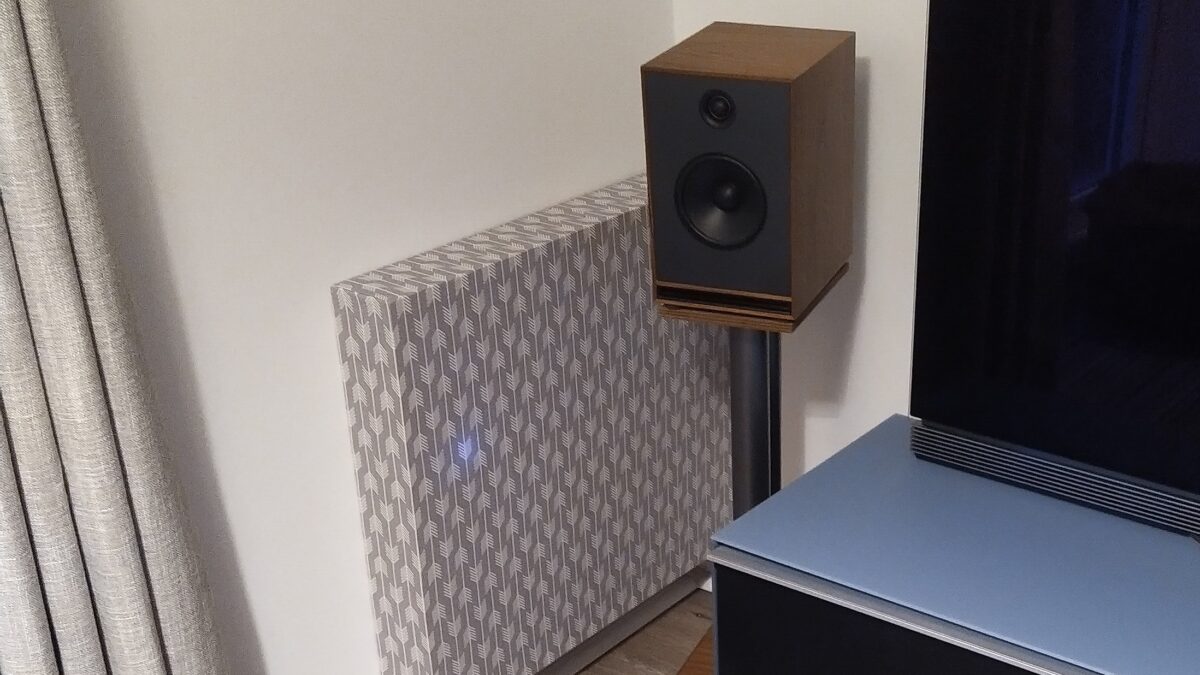
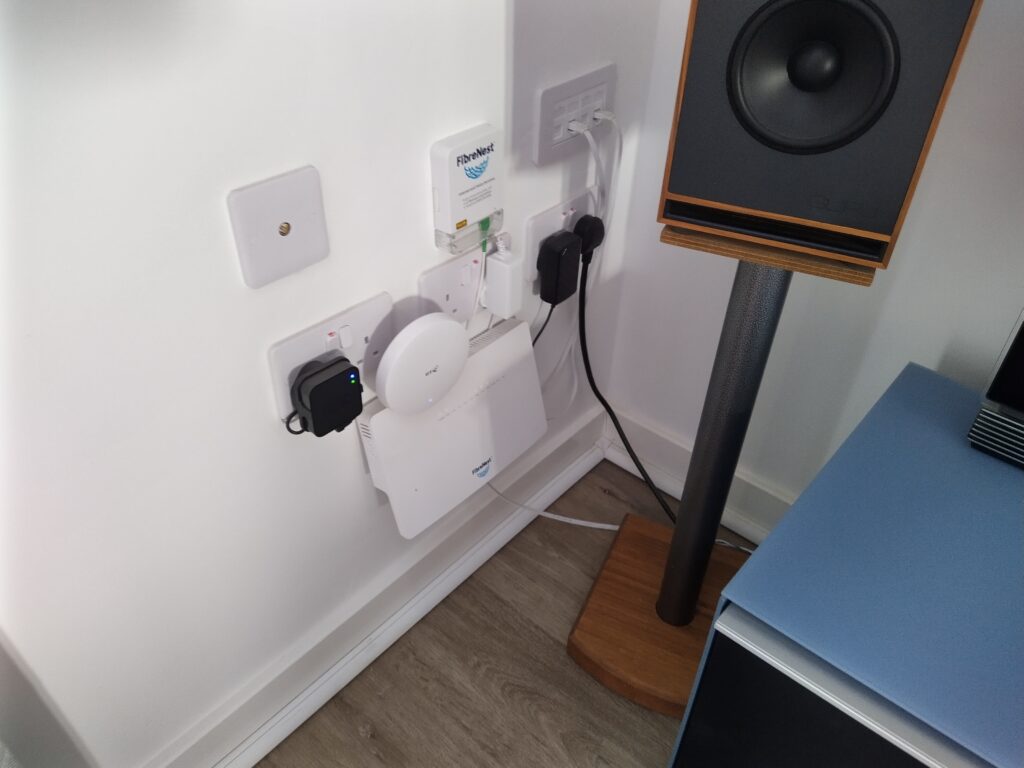
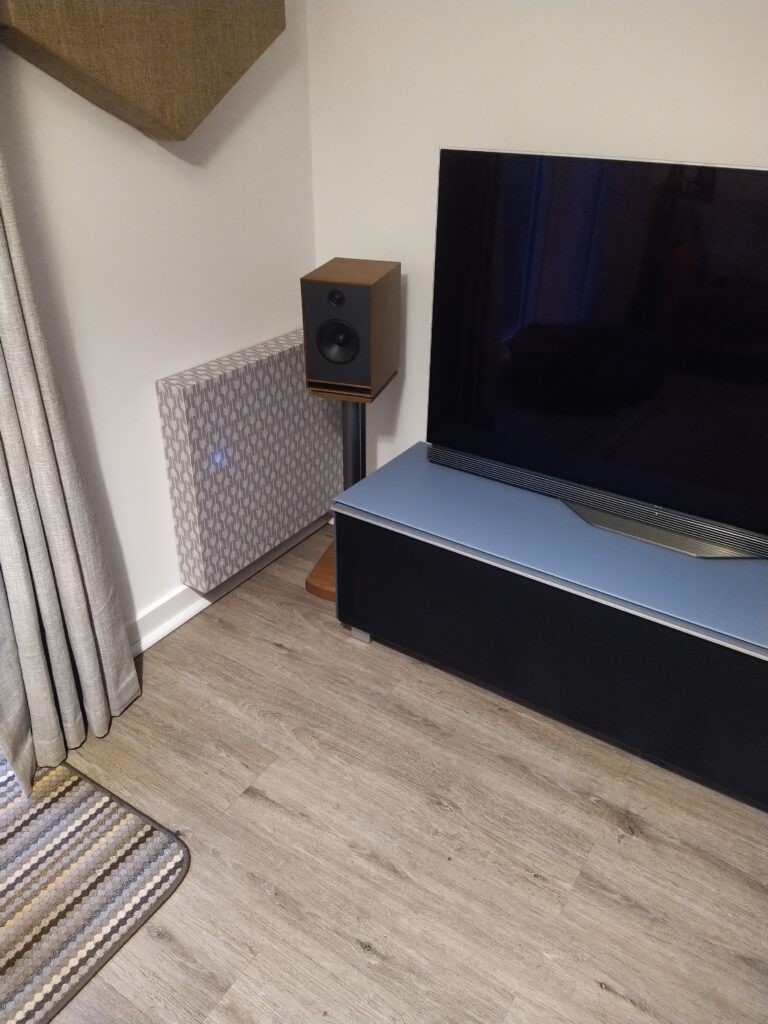
In my new house there is a lot of sockets and boxes in one area (it is made worse by an extra double socket, ethernet socket and Mesh Wi-Fi disc) which is close to the hi-fi and TV in the living room, so they are in line of sight.
I looked at a wooden radiator cover to solve this issue, but they are quite deep and would have nearly touched the speaker, I found one place that could make a custom one for £185, this had the correct depth (about 10cm) and width, but this was a bit too expensive.
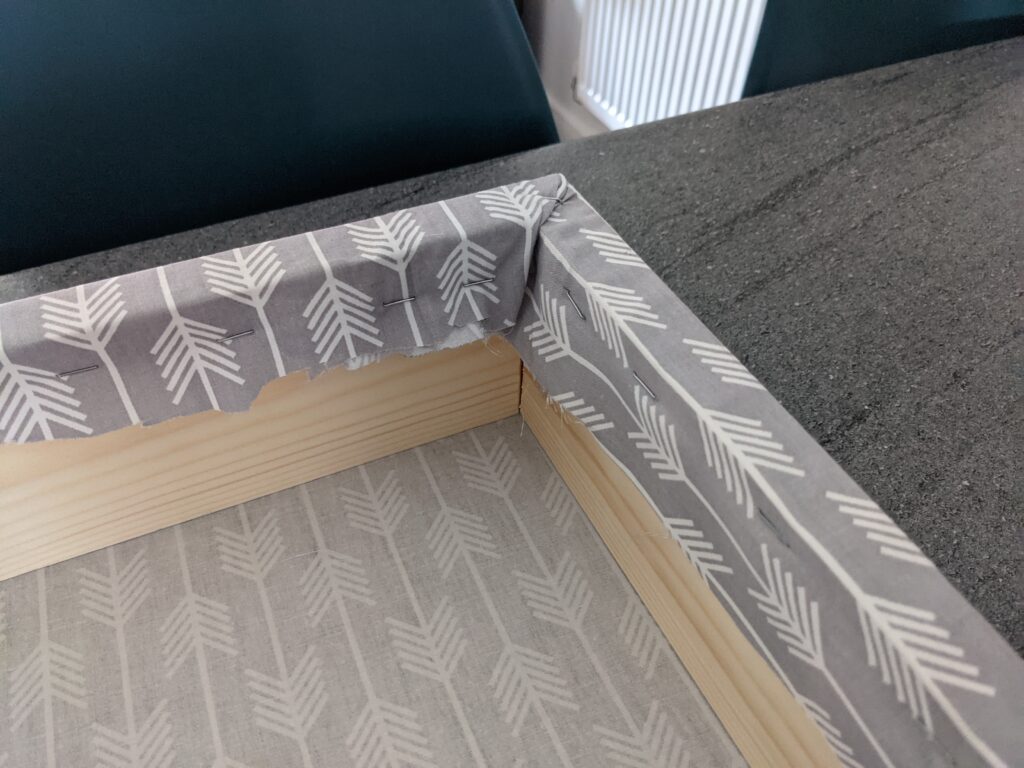
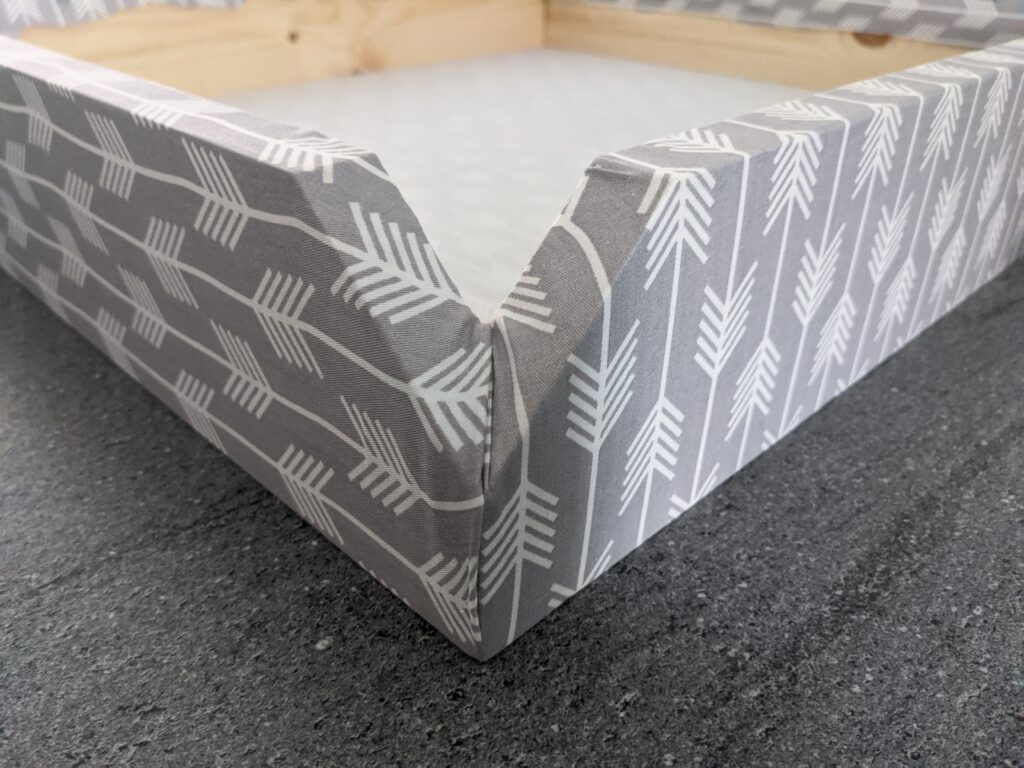
I decided that I would try covering with a panel using the latest guide for acoustic sound panel on this blog . They are practically the same but I have stapled the material on the inside of the wood and there is a 45 degree angle cut on 2 pieces that make an entry for cables.
Requirements
- 4 Pieces of wood length depends on how much you need to cover, 9.4 cm deep***, 1 to 2 cm width.
- Mitre Saw
- Mitre Glue
- Stapler
- Piece of material to cover frame (the piece in the photos (£6) was from Amazon as I could not get to Dunhelm).
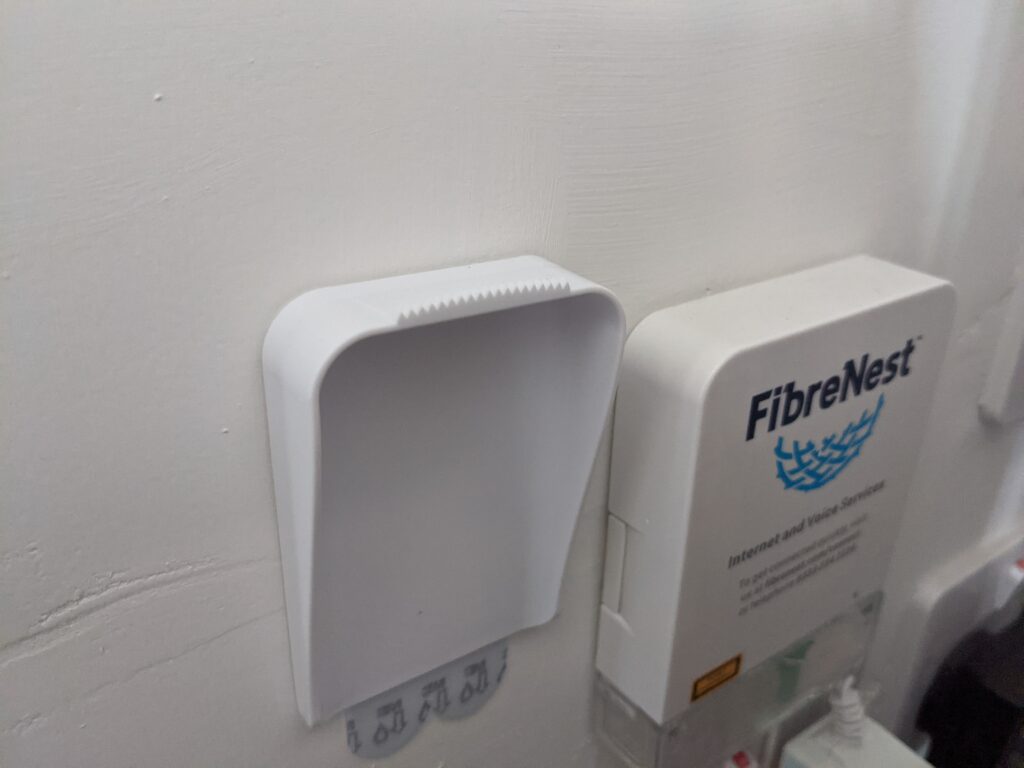
*** in my case 9.4 cm was enough to clear the router which is attached to the wall.
Building
With the mitre saw cut the wood so each length has a 45 degree angle.
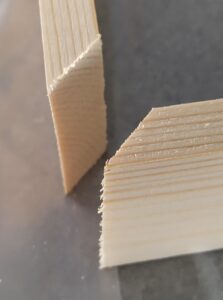
Loosely assemble the frame and decide which corner you will be using for the cable entry. Draw a 45 degree line (starting half the depth of the wood) on the 2 pieces of wood that will form the cable hole on the back of the frame (see below), make sure they are in correct position before cutting.
Glue the pieces together to form the frame, you can add a couple of right angle brackets if this will be moved a lot, I didn’t do this.
Cover the frame with material, I have stapled on the inside this time.
To mount the frame on the wall, I used 2 x 3M Command canvas hangers, which makes it easy to hang and remove to access the sockets.
The finished Article, I hope you agree it looks neater and costs around £17 to build. The camera picked up the ridiculously bright Blink LED.
I would recommend some flame retardant spray on the inside of the fabric, the fabric is quite breathable and there has been no heat build up on mine.

