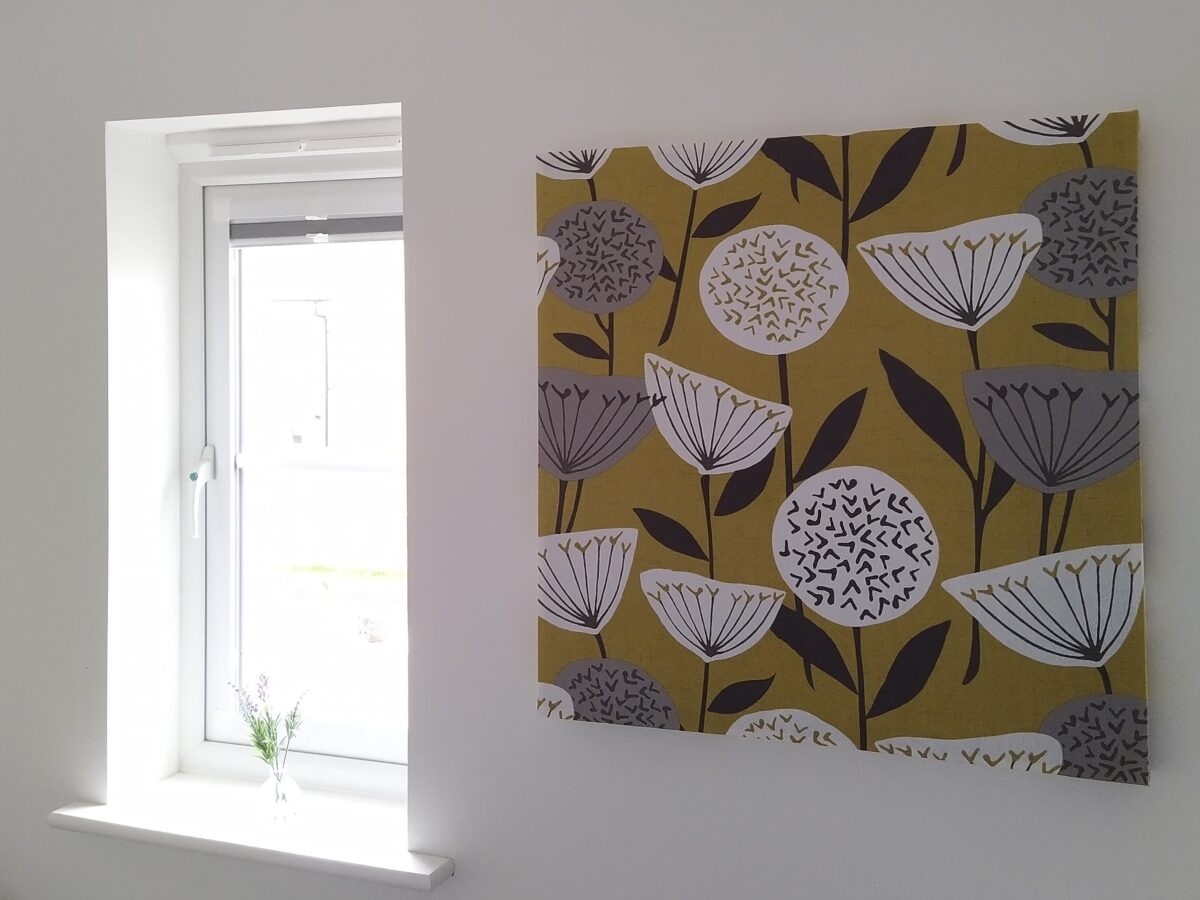
My house has a open plan lounge/kitchen with this design you do get some echo, I have built some acoustic sound panels to resolve this issue. I think they look stylish, and don’t cost too much too make, especially if you already have the tools required. The build requires the minimum of equipment to make, ie no nails or clamps.
Please feel free to ask questions in the comments.
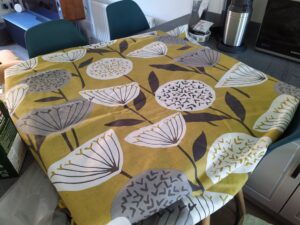
All patterned panels are made with curtains from Dunhelm, hexagon is burlap (sack cloth), and the plain duck egg blue panel is a tablecloth from Dunhelm.
Requirements
This is for 800mm x 800mm x 44mm panels. Pictures show 1200mm (l) x 400m (h) x 100mm (d), 800x 800 x 100 and an Hexagon (100mm depth).
Panel
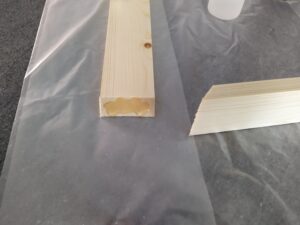
Softwood 2400mm x 12mm x 44mm (10 Pack – Wickes – 19.99, can be bought singly 4 pieces makes 3 – 800mm x 800mm panels).
Rockwool Sound Insulation slabs 1200mm x 600mm x 50mm (Wickes £39, 12 slabs).
Curtains with Lining (Both curtains in this article are £20 a pair in Dunhelm, that makes 4 panels).
Tools
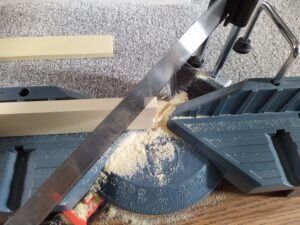
Mitre Saw (or hacksaw and mitre block).
Evo-Stick Mitre Glue (3 second dry) (Wickes £10).
Craft Knife.
Bread Knife.
Heavy Duty Stapler (I used a Bosch electric one, but I did have some luck with a standard desktop stapler opened out because the wood was soft, try what you have before you buy).
Safety
Please wear a mask and gloves when handling the insulation and the Mitre glue, the glue can heat momentarily when pressing the joints together.
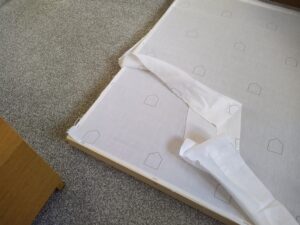
Costs
If you already have the tools then each panel (800mm x 800mm) should cost around £16-£20 each.
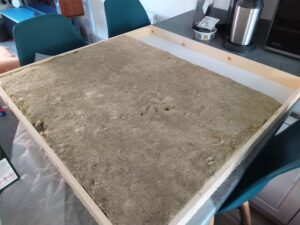
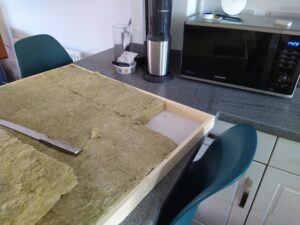
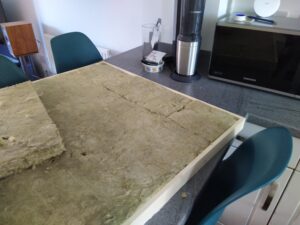
Instructions
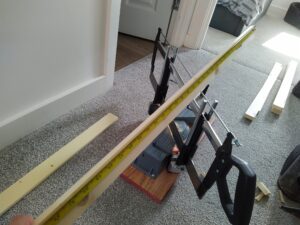
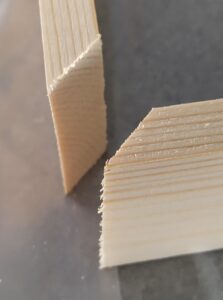
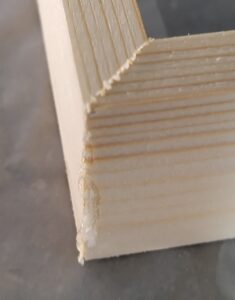
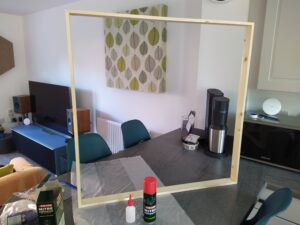
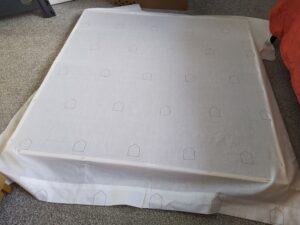
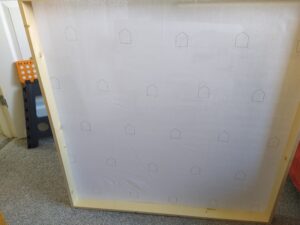
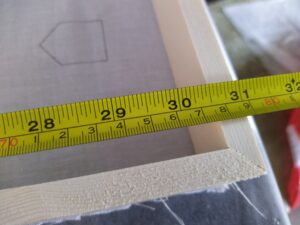
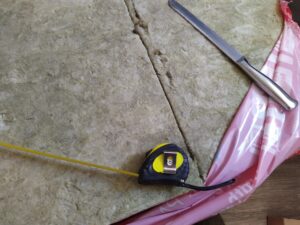
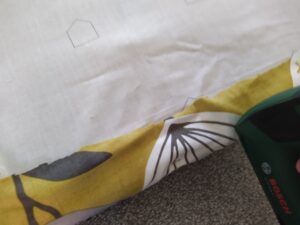
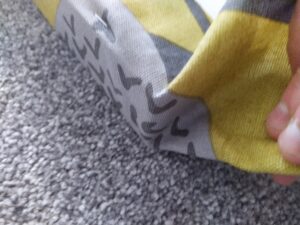
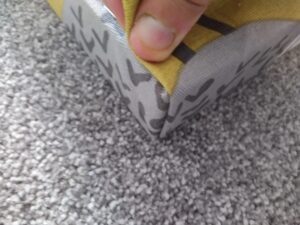
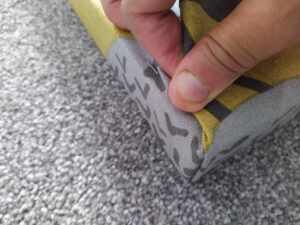
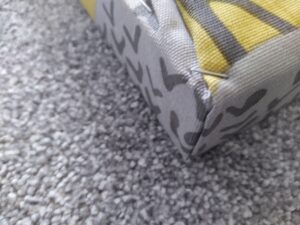
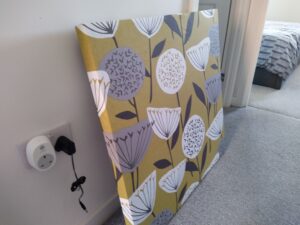
1: Set the Mitre Saw to 45 degrees and cut the end off the piece of wood.2: Measure 800mm on the longest side, then cut the 45 degree angle.3: Flip the piece of wood and make the next cut, always making sure that there is a long side and a short side, if this is done correctly you can get 3 x 800mm pieces from the 2400mm length with about 20mm left over (Wickes give you a little extra).4: Repeat the steps until you have enough to make your frame (or frames).5: Test the joints line up before gluing.6: Apply adhesive on one end, and spray activator on the end to be joined7: Make sure they are aligned, and push together and hold for 3 seconds, trim excess glue with a knife or scissors.8: Repeat with all the joints until you get a square frame. 9: Place the curtain lining over the frame and staple tightly onto the frame.10: Trim the excess lining to the edge of the frame.11: Frame with lining ready for insulation.12: Measure internal length of the frame.13: Cut the insulation with a bread knife add about 5mm to the length to ensure a tight fit.14: Insert the insulation into frame.15: Measure and cut pieces to fill the gaps.16: The filled frame.17: Place the curtain over the frame, make sure it is straight.18: Turn it over, pull tight whilst stapling sides, staple all round, leave the corners for the moment.19: Pull excess corner fabric to one side of frame20: Neatly fold over the top to give sharp corner.21: Fold a little of the material to keep it away from the edge and hidden at back.22: Staple the fold in place.23: Finished panel.24: Panel mounted on wall.
I have made almost the same panels for my living room, as a dampening material behind the speakers. They are a little narrower but also a higher about 120 cm iirc. At this moment I have them around 4 years now. Building was done practically the same as yours, but without the 45 degrees cut. I will do that for the new ones 🙂
I would like to add that there is some support needed for the dampening material. My Rockwool is quite sturdy, but nonetheless it is now slowly sinking in a bit due to gravity so it gets more rounded at the bottom. I think that there is more support needed to keep the materials in place. Maybe something like chicken wire (?) and some thin wire through it to keep it in place. I have not yet found a suitable solution yet. Maybe 2 or 3 narrow wooden slats to hold it in place…?
I am thinking about making new panels and your tutorial is just perfect for many people who want to do the same 🙂


Hi There,
I have made almost the same panels for my living room, as a dampening material behind the speakers. They are a little narrower but also a higher about 120 cm iirc. At this moment I have them around 4 years now. Building was done practically the same as yours, but without the 45 degrees cut. I will do that for the new ones 🙂
I would like to add that there is some support needed for the dampening material. My Rockwool is quite sturdy, but nonetheless it is now slowly sinking in a bit due to gravity so it gets more rounded at the bottom. I think that there is more support needed to keep the materials in place. Maybe something like chicken wire (?) and some thin wire through it to keep it in place. I have not yet found a suitable solution yet. Maybe 2 or 3 narrow wooden slats to hold it in place…?
I am thinking about making new panels and your tutorial is just perfect for many people who want to do the same 🙂